
Designing and printing invoices
The screenshots on this page do not all reflect the new web version yet.
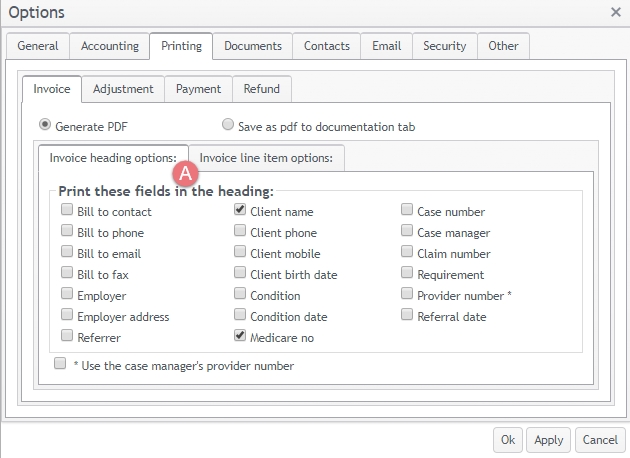
After an invoice has been created, it is printed or converted to a PDF file using settings for:
- what is included in the heading and invoice line items
- the layout of invoice information on the page
These are set using easily changed check box selections.
This is customised using the Report Designer tool, where you can add other information to the invoice, such as a logo.
We call these invoice templates and the system has a default settings for them. To see these select Tools > Options from the main menu.
Click the Printing tab and then click the Invoice tab.
Note that you can also customise the heading/line item settings and/or the invoice layout for particular customers or for particular categories of work.
To alter the default invoice layout, use the Report Designer at the Windows version of Case manager or contact our support desk and we can do this for you.
You will find detailed information about Invoice templates in the rest of this site.
Next: Integrating with accounting software
Accounting
Designing and printing invoices