Saved views

As explained in the Case List Criteria overview, whenever you see the Case List a saved view has already been applied:

To look at the information in your database in vastly different ways simply change views.
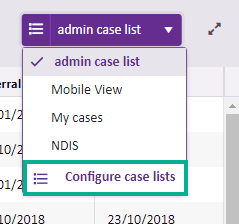
To access the Case List Criteria you start by selecting the icon in the toolbar.

The Case List Criteria window pops up.

When you are editing in the Filter and Columns tabs, you can update the current saved view by clicking OK. If you did not create the current view, you need a specific permission in order to update it, see Shared view permissions below.

Access saved views

To access saved views click the Save tab in the Case List Criteria.

You can create your own saved views and, if you have permission, you can share them.
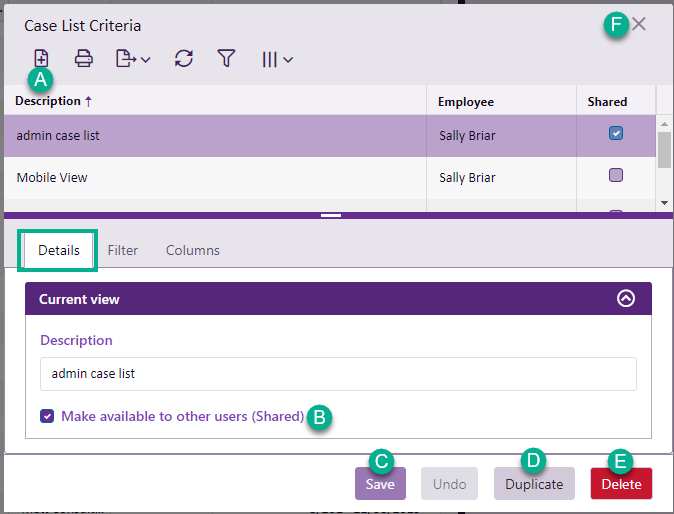
You can update the current view by clicking Save Now (A in this tab).

When you save a saved view the local grid settings are saved too, subject to the setting below.

Grid filters and saved views

To save local grid filters at the Case List in a saved view (including Filter Editor specifications), a user setting must be switched on.

To enable this select Tools > User Options from the main menu. In the General tab click the checkbox for Restore case list grid filter:

Note also that, if permitted, you can also save local grid settings into the current saved view by clicking the disk icon at the top of the screen at the Case List.

Saved views grid

The list of saved views has some standard list tools that allow you to sort and filter it.

Create new saved view - quick method

A quick way to create a new view is:

  1. Make a copy of the current view by selecting Save As (B) or Duplicate (C). It will not be set as a shared view.
  2. Load this view (D) and customise it using the Filter and Columns tabs and local grid functions.
  3. Return to the Save tab if necessary and change the name of the saved view at Description (E).
  4. Click Save Now (A).

Create new saved view from scratch

  1. Open Case List Criteria by selecting the icon in the toolbar and click the Save tab.
  2. Click New (F). This will create a new view with the default name of New Case list configuration.
  3. Click Load (D) to load this new view. A pop up window may appear asking whether to save changes to the current view. Click No.
  4. Change the name at Description (E) from New Case list configuration to your desired name.
  5. Click Save Now (A). You have now saved your own view but not yet customised it.
  6. Set your criteria using the Filter and Columns tabs, clicking OK to see their results at the Case List. You can also go back to the Case List and set filters, see the Grid filters and saved views above.
  7. Return to the Save tab and click Save Now (A) to save the new view.

Remove a saved grid layout

If the columns listed in the Columns tab are not the same as what is displayed in the Case List, the local grid function, Column Chooser, could be responsible. It is removing certain columns from the grid. Select Remove saved grid layout (G) to remove its influence, refresh the Case List and display exactly what is listed in the Columns tab.

Sharing saved views

If you have the required permission, you can specify that other users can also see your saved view by clicking its Shared check box H). You can turn this check box off and on. Users can make temporary changes to the view but they cannot save these changes unless they have the required permission.

Shared view permissions

Two permissions regulate saved views:

  • permission to allow a user to share their saved views:
  • Can share saved views

  • permission to allow a user to modify or delete saved views created by other users:
  • Can alter saved views created by another user

Click here for an older video demonstration of creating new saved views.