List tools
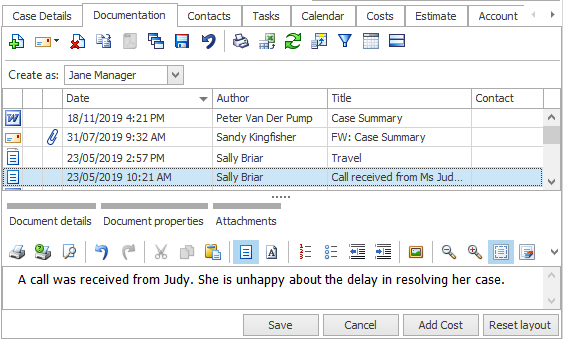
Grids/lists feature throughout Case Manager. There are tools to manage the list itself as well as tools to manage items in the list. The Case List has access to most of these tools, see Case List as a grid. This page summarises tools for managing the list itself.

Each grid in Case Manager offers a slightly different selection of appropriate functions, however broadly speaking you can use list tools to:
- Filter the list (at various levels of complexity) so it displays certain records only, see Filter grid.
- Sort the list according to your priorities, see Sort grid.
Filters and sorts can be based on the value of one field or multiple fields.
Other tools enable you to:
- Group the information in the list, see Group list.
- Specify the information (fields) you want included in the list.
- Export the list to an Excel file, see Export list to Excel.
- Add a new item to the list
- Refresh the list
- Print the list
You do this by choosing columns for the list.
This is a great technique for creating an ad hoc report.
Click the New icon ![]() to make a new member of the list, i.e. a new case, a new document, etc.
to make a new member of the list, i.e. a new case, a new document, etc.

To ensure the list is totally up to date when you are sharing a database, click the refresh icon ![]() .
.

In some grids there are multiple print options. e.g. you can print multiple documents at one time.

These functions operate simultaneously. For example, you can choose the columns to display, filter the list and then sort and group it. This enables you to create ad hoc reports. Specifications can be changed on the fly, so that you can find what you need and look at a list from totally different perspectives very quickly.
You can also use the arrow keys to move up and down the list.
Footer totals
Footer totals calculate totals for the records in the column, for example the total amount of unbilled case costs.
![]() button.
button.

The information displayed depends on the type of column and can include Min, Max, Count, Sum and Average. Right-click the footer to display the options and make changes.
Open in new window
Select the ![]() icon to open the currently selected tab or record in a new window.
icon to open the currently selected tab or record in a new window.

For example, you could select this icon several times in the documentation tab in order to compare different documents for one case. Alternatively, within one case you could compare details about a contact and details of a document. And of course you could open a contact in a new window and then move to another case and compare details between the two.
This feature allows you to multi-task and work on a number of different things at the same time. This is convenient when, for example, you are entering changes to a contact record when another client rings to discuss an issue. You can keep both windows open
Note that this icon is not available in the Case List however it is easy to create multiple windows across different cases.
Show inactive
Certain lists need to display inactive members when required:

