Document settings
To access the system-wide document configuration settings select Tools > Options from the main menu then click the Documents tab.
After making changes here click OK to save the changes and close the window. Alternatively select Apply to just save and apply them.
- If this is set a preview of the selected Word, PDF or Excel document is shown in the bottom half of the screen in the Documentation tab.
This is a useful setting to turn off if you want to increase document security.
If this option is not ticked and a user does not have the View case doc permission, they will be able to see the document details in the Documentation list but will be unable to see the document contents in the preview window.
- If this is set users are prevented at the Documentation tab from deleting a sent email.
- This setting allows you to specify that when a certain number of days have passed after a document's creation date, it can no longer be edited.
Note that a user with the Can alter old documents permission is able to override this setting and alter such documents.
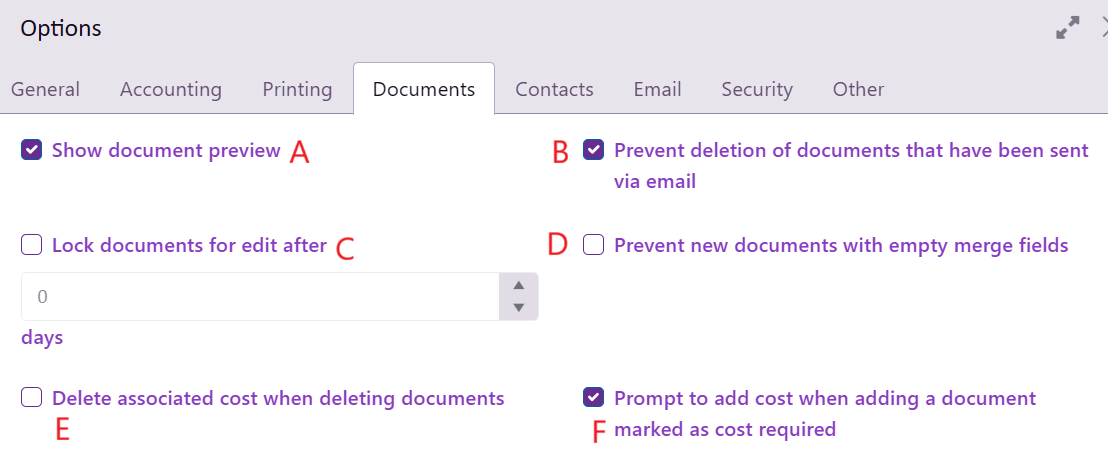
- If set this prevents the creation of a new document when the template contains a merge field for a mandatory custom field and the new document would have no value for this field.
- You can add a cost to a document. This checkbox specifies whether the document and its associated are by default considered dependent or independent when the document is deleted, see Add cost to document.
- This checkbox also relates to linked documents and costs. It enables a function where users are prompted to enter a cost when they create a document from certain templates, see Require cost for new document.
This is designed to ensure that users complete the data entry process in Case Manager prior to creating documents. When an attempt is made to create such a document an error will appear identifying the empty custom field.
The lower part of the document settings is divided into tabs for Word and Excel template settings and Drag and Drop options.
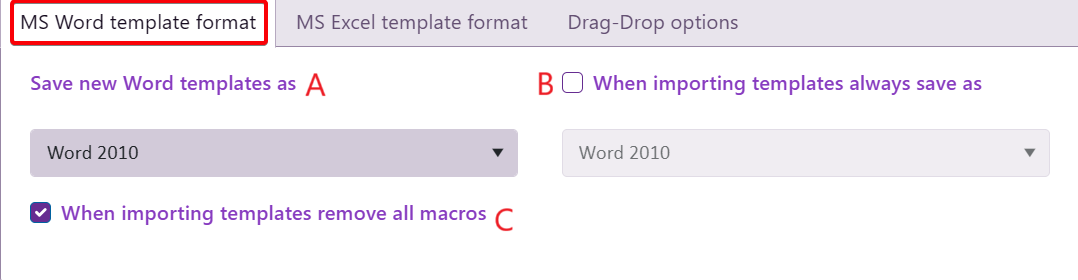
MS Word template format
- Case Manager supports MS Word 2003, 2007 and 2010.
- Set this to the 'lowest common denominator', as explained above.
- By default, all macros are deleted from Word files when importing templates. You can switch this option off.
If you run several versions of Word set this to the 'lowest common denominator' so all users can open the templates.
Word 2003 creates .doc files. Word 2007 and 2010 create .docx files. These .docx files are slightly different so if you have any users with Word 2007 then select Word 2007 here.
See also the note below about changing your Word template formats.
Changing Word document templates from doc to docx
The most recent versions of Word save files with the docx extension. The settings in the screenshot above ensure that all new templates are created in the docx file format.
If you have existing templates that are .doc files (Word 2003) there is no need to convert them to docx files because they will continue to function in Case Manager.
If you prefer to convert them into .docx files you need to:
- Make sure that you have specified at B above that imported templates are saved as Word 2010 files.
- Download all existing Word templates in the Document templates List into a separate folder.
- Delete the existing Word templates from the list.
- Select all the Word templates and drag them back into the list.
The templates will be automatically be created in Case Manager in the .docx file format.
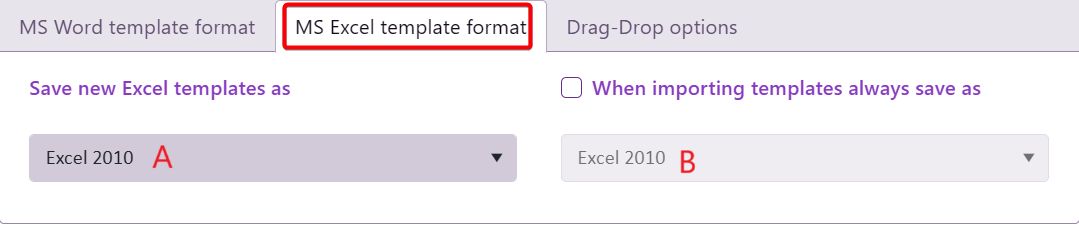
MS Excel template format
- Case Manager supports MS Excel 2003, 2007 and 2010.
- Set the option to the 'lowest common denominator', as explained above.
As with the Word templates above, set the format for new Excel templates to the 'lowest common denominator' if you run several versions of MS Excel.
Excel 2007 and 2010 both create .xlsx files, these are slightly different. So if you have users with Excel 2007 then select Excel 2007 here.
Drag-Drop options
These options apply when you drag files (documents and emails) from outside Case Manager into a case's Documentation grid.
- If set, the date and time of the newly-created document in Case Manager will be the original file's last modified date instead of the current time.
- If set, the date and time of the newly-created email in Case Manager will be the original email's creation date instead of the current time.
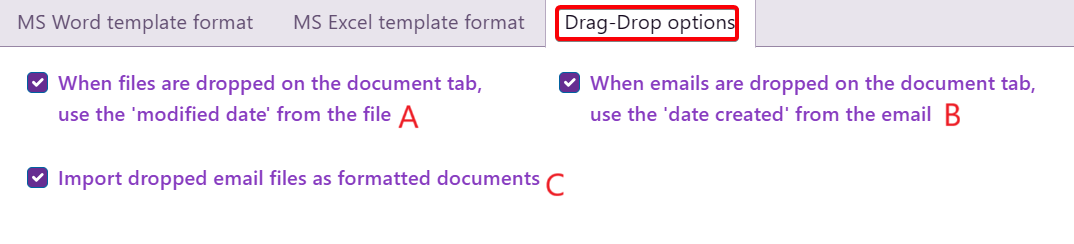
- If set, dragged and dropped emails retain their formatting
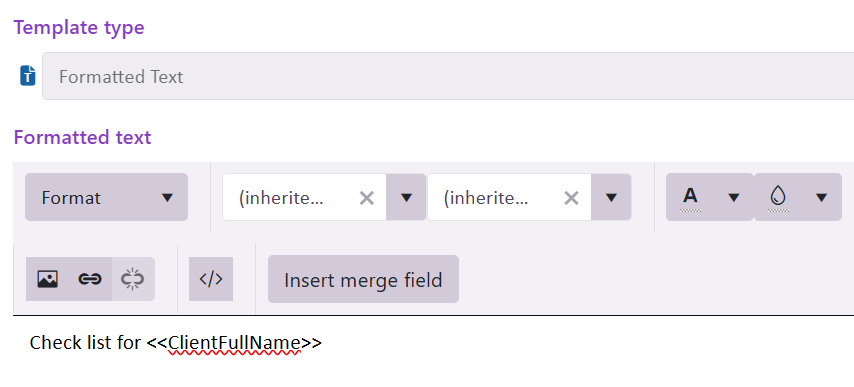
Default document stylesheet
This is the web equivalent of the style sheet file (styles.rtf) in the Windows version of Case Manager.
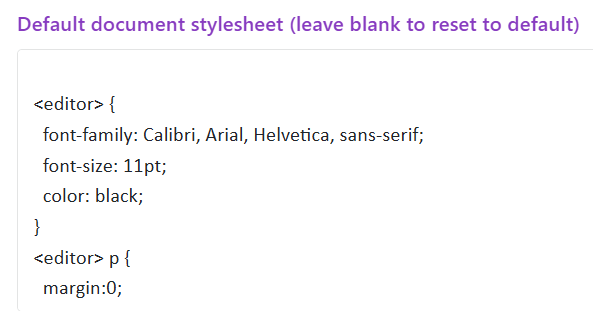
This file is used to set the styles when creating new templates and signatures
The screenshot below shows the inherited font of Calibri: