
Importing Payment Details
The payment import feature varies depending on the version of Case Manager that you use. The 6.2 and earlier version allows you to import multiple payments for a single payer. Whereas, the 6.3 and onwards version allows you to import bulk payments for multiple payers.
Please see 6.3 Payment Import for version 6.3 of Case Manager or later. Alternatively, please see 6.2 Payment Import for version 6.2 of Case Manager or earlier.
Payment Import for Version 6.3 or Later
The latest version of Case Manager features a newly refined utility that allows you to import payments in bulk from a Microsoft Excel or Comma Separated Values (CSV) file. This is particularly useful when Case Manager is not your only accounting platform.
For example, you may be utilising a Custom Report to extract financial data in bulk out of Case Manager for import into other accounting platforms such as Xero, MYOB, QuickBooks, Great Plains or others. One complication with this process is that you often need to manually enter payments made within these platforms back into Case Manager one by one.
However, with the use of the new Import Payments feature, you can now seek to attain a bulk payment export from your accounting platform to import into Case Manager. This can seek to reduce a lot of the manual effort previously required.
Please note, the latest version of the Import Payments feature is currently only available in the Web version of Case Manager.
Payment Import Requirements
In order to ensure that payments are correctly imported into Case Manager, the payment data will need to adhere to a particular format as outlined in the following template:
Download Payment Import Template
This template shows the particular columns that can be mapped to data for the purposes of an import into Case Manager.
Using the Import Payments Feature
To import your payment file:
-
Navigate to Tools > Import Payments:

-
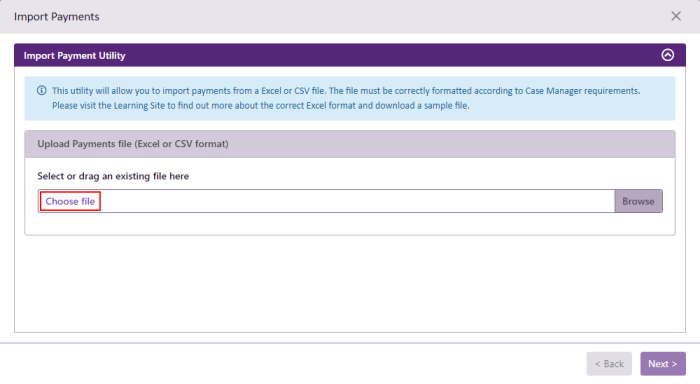
This will open the Import Payments Utility. Select Choose file and locate the payment file you wish to import.
-
The utility will then list the payments file you selected:
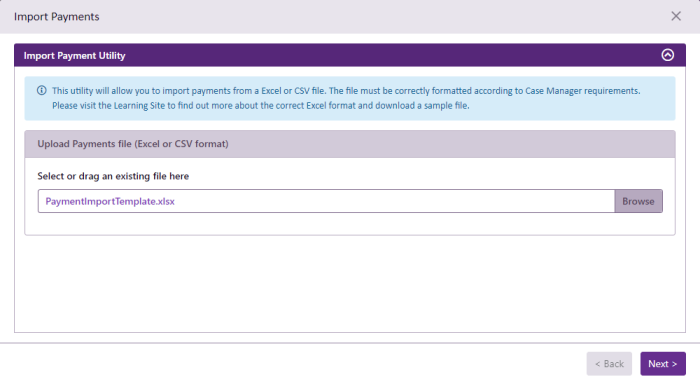
Click Next to proceed.
-
Before finalising the payments, the utility will first provide you with a summary based on the import file:
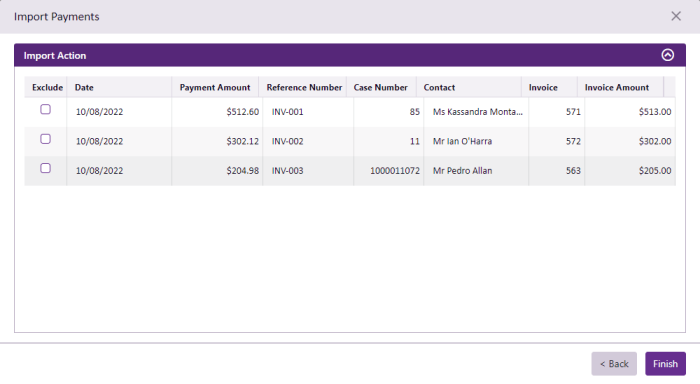
This provides you with an opportunity to scan through the data and check for any errors. You can also choose to tick the Exclude option for any payments that you do not wish to import.
-
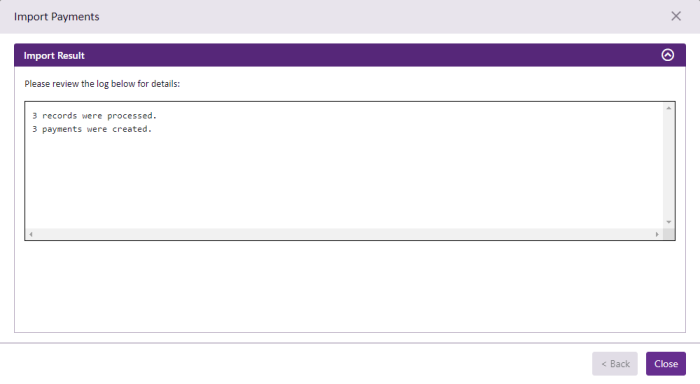
When you are ready to carry out the import, click Finish and the utility will proceed to finalise the payments. Upon completion you will receive a log output which will list all the payments created along with any error that may be encountered for validation purposes:
-
The payment import process is now complete.
Payment Import for Version 6.2 or Earlier
You can import the payment details from a spreadsheet when you add a payment in the Windows version of Case Manager.