
Set up new Document Manager for web
The new Document Manager can be installed for both Microsoft Windows and Apple Macintosh operating systems.
The first time you access the Documentation tab in Case Manager 6.2 onwards, you are invited to use the new Document Manager.
Step 1
A pop-up window appears.
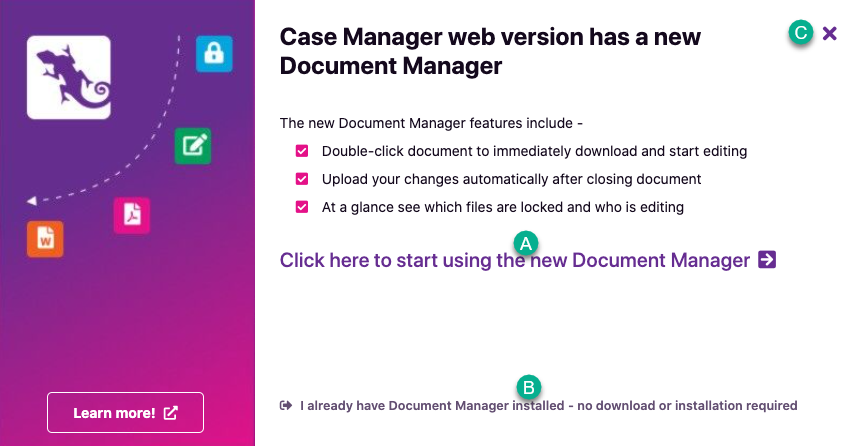
You have three choices:
- Get started straight away
- Your web browser may obscure the fact that you already have the new document manager installed.
- Remind me later
Click Click here to start using the new ... You will be guided through a series of set-up steps.
Go to Step 2.
If that is true, click I already have the new Document Manager installed ...
You do not need to do anything more.
If you click the x close button then Case Manager will remind you again in 28 days.
Step 2
After you indicated that you wanted to start using the new Document Manager, your user options were set with the default settings. You can change these later if desired.
Next you are invited to go to the Microsoft Store (or Apple App Store) to install the Document Manager app:
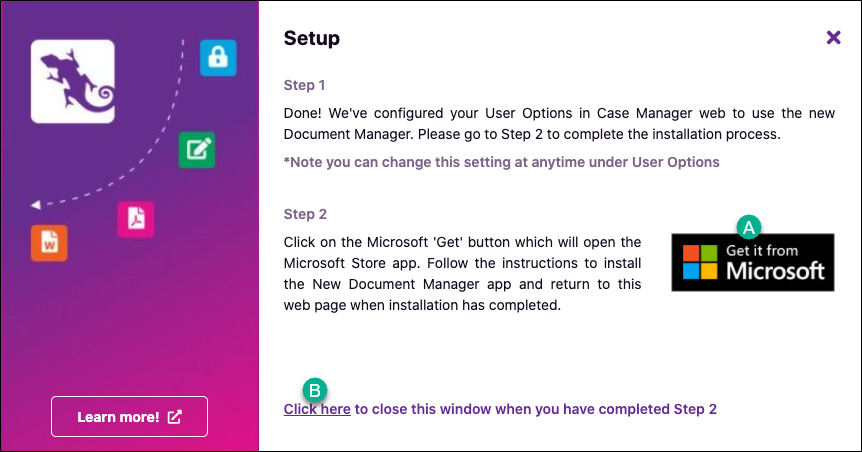
- Click Get it from Microsoft(or Get it from Apple).
- When you have completed up to step 5 (below), return to Case Manager and click Click here to close this window.
This takes you to the store, see Step 3 below.
This refreshes the Case Manager screen and the window disappears.
Step 3
Give your permission to open the store by clicking Open:
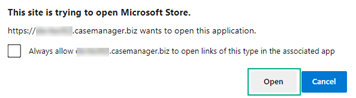
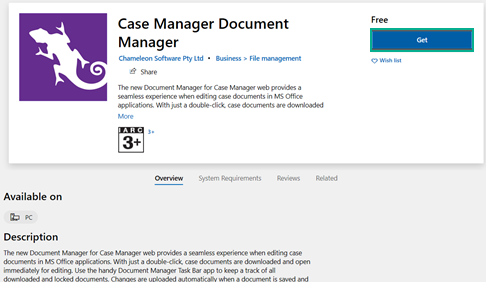
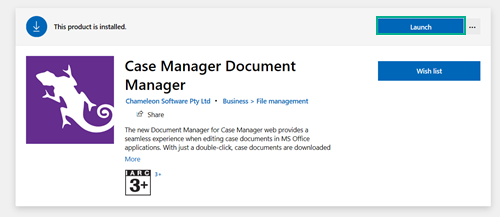
This takes you to the entry for the Case Manager Document Manager.
Click Get.
Click Sign in and sign in with your Microsoft credentials:
Note that If you have the Windows 10 Pro, Enterprise, or Education edition installed, you don't need to sign in.
Install the app and click Launch to start it up.
You may see the document manager's icon at the bottom RHS of your screen:

Alternatively, it may be with the hidden icons:

You can now return to Case Manager, click Click here and close the setup window (B in Step 2). This reloads Case Manager with your new settings.
The first time that you double-click a Word (or similar) file in Case Manager you will see this window:
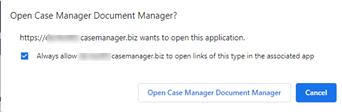
Naturally, you click Open Case Manager Document Manager this first time.
Step 5 - everyday use
In the future when you double-click a Word file you will only see the following message:

In your copy of Word you will find the document loaded and ready for editing.
The rest of the document management process is automatic.
User settings for document manager
The default settings are:
 '
'
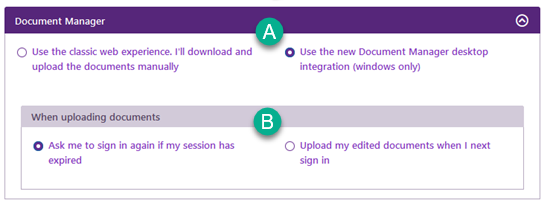
- In the top section you choose which type of document manager you want to use.
- This option only applies to the new document manager.
Note that the new document manager is currently available only when the browser is running on a Windows computer.
The classic method must be used on platforms such as Apple Macintosh computers.
If you are not logged in to Case Manager when you save and close the local copy of your document, the automatic upload of this document to Case Manager will not proceed. This is because security is our first priority. Case Manager needs to verify your credentials before uploading anything to your database.
You can chose whether you want to be asked to sign in again, or whether you prefer that the document is uploaded and unlocked when you next log in to Case Manager.