
Installing the Office Add-in for Microsoft Word
The Case Manager Merge Fields feature allows you to automatically populate case information into your documents according to a pre-defined template.
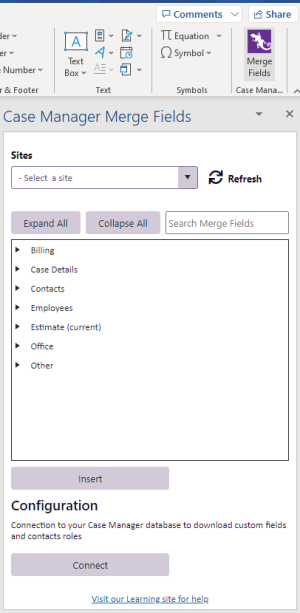
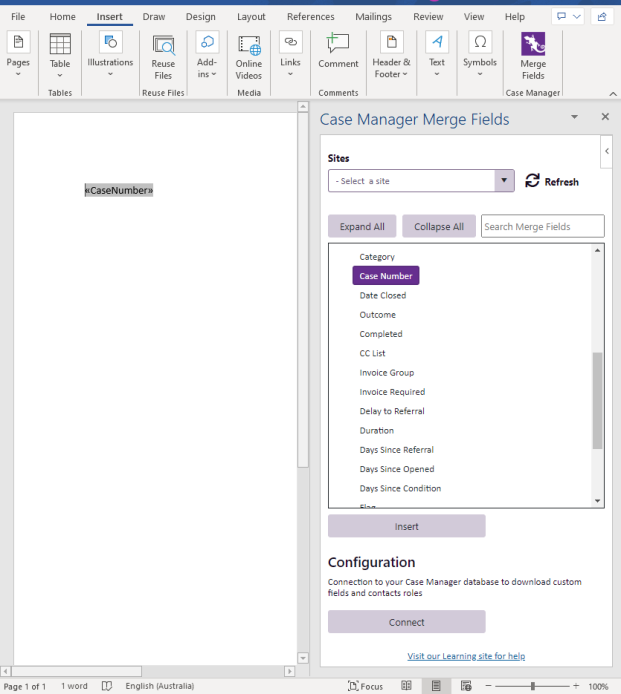
The Office Add-in is an extension for Microsoft Word that allows you to speed up the process of creating Word Templates. With this add-in, you can select fields to add to your template from a Merge Fields Window:
There is an option for the add-in to include Merge Fields for your Custom Fields and custom Contact Roles. If you would like to have this functionality, an additional configuration process will need to be completed. Please see the Customisation section below for further details on this.
Please note, for the add-in to function correctly you will need to be on Case Manager Version 6.2.0.2520 or later.
If you have any questions regarding compatibility or the System Requirements for the add-in, please see the Notes section below.
Installation of the Office Add-In
-
Begin by opening Microsoft Word, then create a blank document.
-
Proceed to the Insert tab. On this tab, you will see an option to 'Get Add-ins':

-
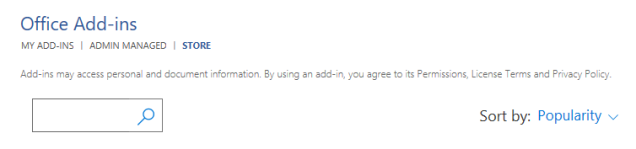
Select this option and then search for the 'Case Manager' under the STORE menu:
-
Select the 'Case Manager Office Add-in' from the list returned and then click the 'Add' button:

-
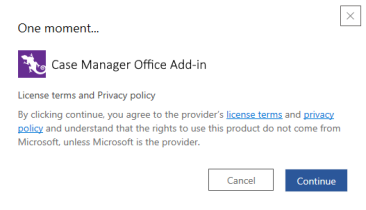
You may then be prompted to accept the License Terms and Privacy Policy, please proceed to review this and opt to continue at your discretion:
-
This will then make the Office Add-in available on the Insert tab:

- Installation of the Office Add-in is now complete.
Using the Office Add-in
To locate the add-in, open a document in Word and select the Insert tab, then click the Merge Fields button on the far right-hand side of the ribbon:

When you run the add-in you will be presented with a Get Started screen:
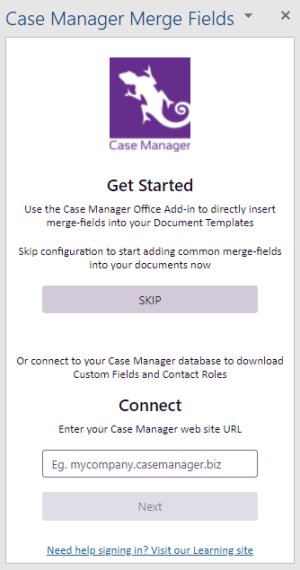
This screen will provide you with an option to Connect the add-in to your Case Manager database so that it can access any Custom Fields or custom Contact Roles you may have. Please see the Customisation section below for further details on this. Alternatively, you can SKIP this step and choose to configure this at a later time if needed.
Please note, if the SKIP option is selected, the add-in will only list the standard Case Manager Merge Fields. Customised fields will not be included in the field list.
To insert a Merge Field into the document, position your cursor at the desired location and double-click the field in the window. This adds it to your document:
Alternatively, you can position your cursor then click the 'Insert' button to add the field to the desired location.
Customising the Add-in with Custom Fields and Contact Roles
To list the Merge Fields that relate to your Case Manager's Custom Fields and/or custom Contact Roles you will need to sign in to Case Manager via the add-in. This will allow it to access your database and retrieve this information.
To carry out this configuration:
-
Click the 'Connect' button at the bottom of the add-in pane:
This will display the connection configuration window.
-
Enter the website address for your Case Manager database, then click 'Next':
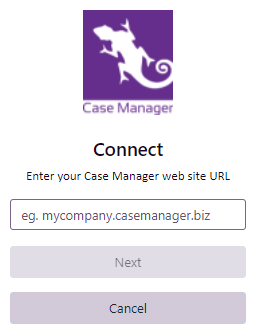
If you are unsure of what to enter for the web site URL, please contact your organisation's Power User or System Administrator and they will be able to provide this information.
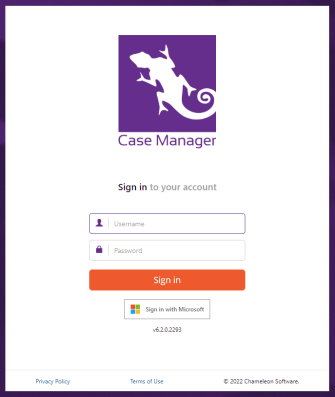
You will then be prompted to sign into Case Manager.
-
Please proceed to log in using your preferred Sign in method:
You will then be prompted to allow the add-in to access your Case Manager.
-
Please select the 'Allow access' option:
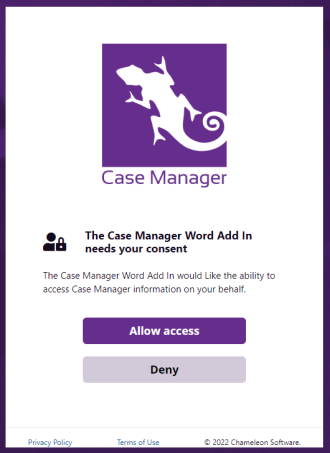
The 'Allow access' option enables you to choose whether your Office Add-in is allowed to access and retrieve referential information for you Custom Fields and custom Contact Roles from your database. If you opt to 'Deny' this stage, the Office Add-in will still be able to merge standard Case Manager fields, however, it will not be able to access Custom Fields and custom Contact Roles.
-
Customisation of the Office Add-in is now complete.
The add-in will then refresh and both Custom Fields and custom Contact Roles will be available in the Merge Field list:
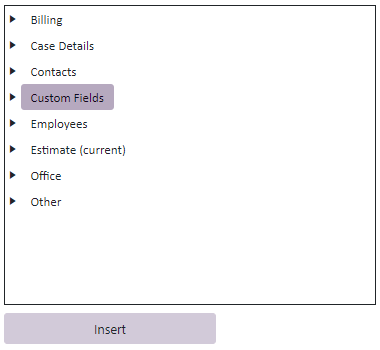
Custom Fields will appear in their own heading as pictured above. Custom Contact Roles will appear under the 'Contacts' heading.
Connecting multiple Case Manager databases
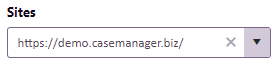
The Customisation process outlined above can be repeated as many times as needed if you wish to connect the Office Add-in to multiple databases. As each database is connected it will be available to select in the Sites drop-down list at the top of the add-in pane:
Refreshing the Merge Fields window
If you have added or updated any Custom Fields or custom Contact Roles whilst the Office Add-in is open, the add-in may not be able to detect this change. Therefore you will need to manually click the Refresh button to ensure that the fields listed are up to date:

System Requirements
The minimum requirements for the Case Manager Office Add-in are as follows:
Case Manager
Version 6.2.0.2520 or later.
Windows Operating Systems
Windows 10 or later.
Microsoft365 Online or Microsoft Office 2016 (including Outlook) or later.
The latest version of one of the following browsers:
Google Chrome - v95.0.4638.69 or later.
Edge - v95.0.1020.40 or later.
Macintosh Operating Systems
macOS 10.14 Mojave or later.
Microsoft365 Online or Microsoft Office 2019 (including Outlook) or later.
The latest version of one of the following browsers:
Google Chrome - v95.0.4638.69 or later.
Microsoft Edge - v95.0.1020.40 or later.
Additional Notes
Based on the System Requirements above, the Office Add-in may not be compatible with your current system. In this situation, there are other ways to add Merge Fields to document templates:
- There is a direct technique for adding Merge Fields to your documents. Please view the instructions at Add Merge Fields directly for more details on this method.
- For older versions of Word you can seek to install the now deprecated macro-based add-in. Please see: Installing the MS Word merge field macros for further details.
- If you are seeking information on the former 'Word Add-in' for Citrix, please see the Word add-in for Citrix and Terminal Servers page.