
Introduction to security groups and permissions
The screenshots on this page do not all reflect the new web version yet.
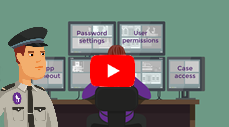
You might like to start with the introductory video:
Controlling what your users can see and do in the database is an important part of setting up system security.
In Case Manager you make an employee a member of one (or more) Security Groups in order to precisely specify their level of access to system information and functions. This can be done at the Employee List, see step 5 at Create logon account.
Each security group has settings for all the system permissions. Each permission controls a function, such as View cost. Note that Add cost, Modify cost and Delete cost are three other, independent permissions, so permission settings enable quite detailed regulation of user activities.
Default security groups
Case Manager comes with four default security groups: Consultant, Data Entry, Manager and System Administrator. Their permissions have been set to correlate with standard user work practices.
The permission settings can be changed if required or you can create additional security groups.
We recommend that you review the permissions set for each security group carefully to ensure they reflect the work you want your users to perform.
Access the Security Groups by selecting Lists >Security Groups List from the main menu

- Select a security group
- Examine the list of permissions under the Allow heading and un-tick any that you do not want this group of users to have.
You should ignore the Deny column for now and leave it unset.
See Security groups for further details.
Make employee a member of security group
Employees can be made members of security groups at the Employee List.
Employee can also be made members of security groups at the Security Group List.