Security Groups List
A security group is a named collection of permission settings. The collection defines what a user can see and do in the system. Each permission setting either allows or does not allow members of the group to perform a particular action.
A user can be a member of more than one security group, see Compilation of permissions.
Case Manager ships with a set of standard security groups that match the typical actions of different kinds of Case Manager users. Each business should customise these to match their own practices.
To access the Security Group List select List > Security Groups List from the main menu.
The left hand side lists the groups and has buttons at the top that provide some standard grid icons and features.
The right hand side provides access to the permission settings of the selected group. You can change these settings, see Setting permissions for details.
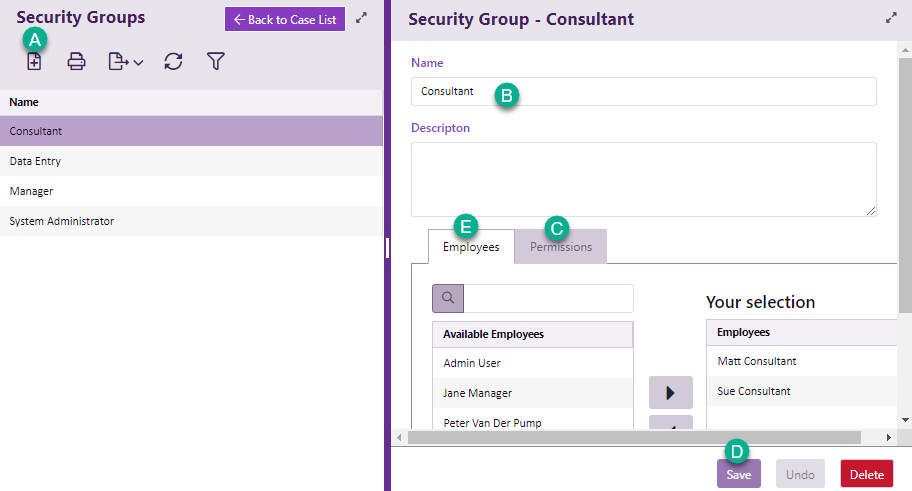
The right hand side also enables you to view the members of the security group and add/delete employees to/from the group.
Add security group
- Create a new security group by clicking the New button
 .
. - Give the group a name at Name.
- Click the Permissions tab and customise the settings for this group, see Permissions.
- Click Save.
Permissions are organised into groups. You can open and close them by clicking the icon (highlighted).
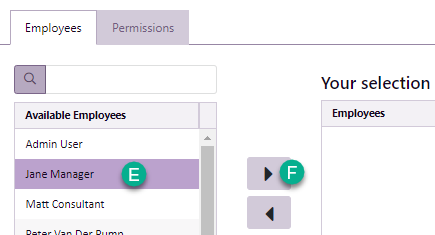
Add employee to security group
Select an existing security group from the list on the left.
- Click the Employees tab.
- Select an employee and click
- Save your changes.
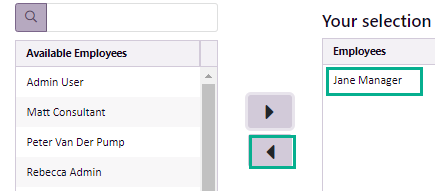
In the same Employees tab you can remove an employee from a group by selecting the employee on the right hand side and clicking